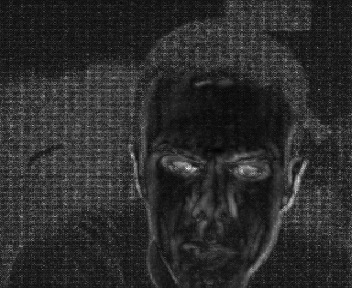
and because people don’t look like their photos irl…here is a distribution over to sample:
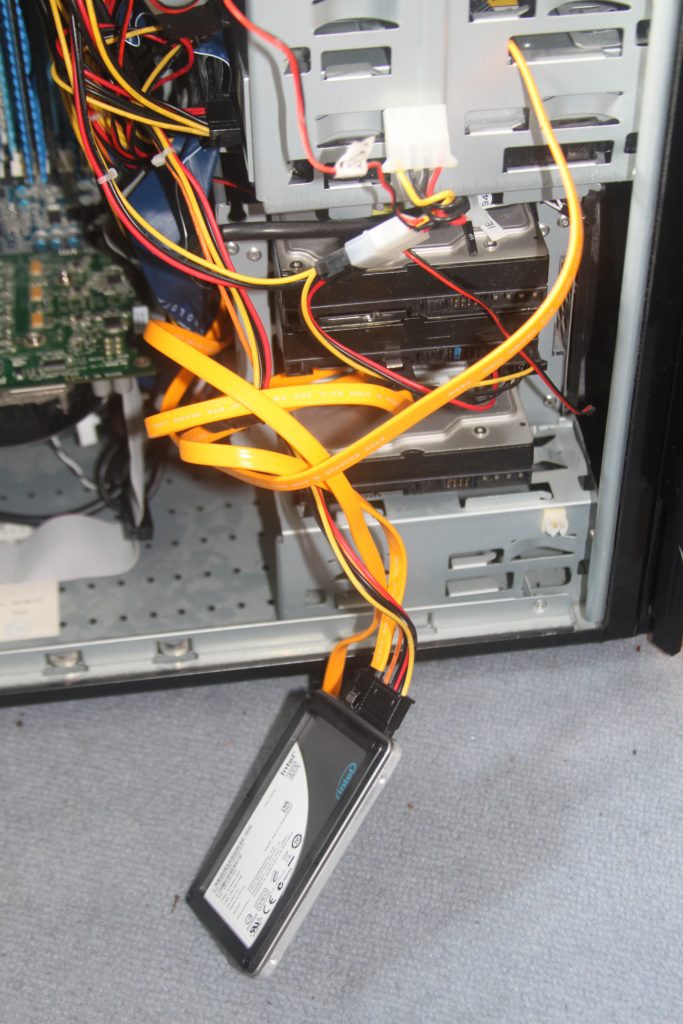
ssd’s and ubuntu
So I got fed up with waiting for my new computer to boot or java to find the hundreds of files it needs, I decided to blow my spoils from a recent conference victory on a SSD hard disk for my desktop machine.
tesco value bridge

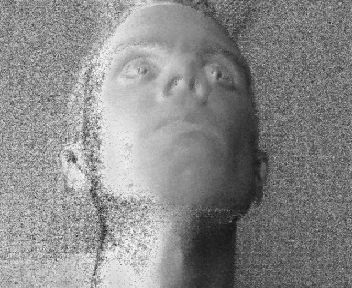
normals with structured light
Right, new day new mad idea. Using a naff webcam and a big ol’ TFT to capture normal maps and specular maps for a face. Some academic people have tried this using big illumination rigs and monitors before (but seemed to be working at it too hard).
First up left/right normals. By strobing a white line across the screen and compiling the pixels that light up the most you can build up a convincing normal map (black -> white = left to right):
So if you display a chess-board inverted with every frame and composite the difference in maximum and minimum brightness for each pixel over a bunch of flashes you trigger epilepsy. You also get:
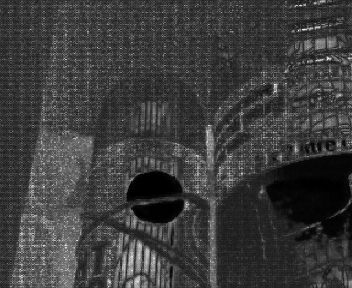
(a deoderent bottle with a 20 pence piece attached)
Good – but on the edges between the chess squares you get low change = no specular. Solution: most the squares around in a non-linear fashion (add a translation based on a random rotation).
The response for this algorithm was also very nervous and it acted as edge detection when something was moving a little. But it did pick out the eyes and my greasy nose.
For objects that are shiny but rough (such as the coin above) you get no output because the response is the same for both inverted and non-inverted stages. To differentiate between a matt bit of paper and shiny metal I tried different sizes of squares to display. With 1cm – 30cm sized squares I got the following results.
It looks like you get different responses for different levels of roughness. The differentiator seems to be when it peaks first. I’m also still getting a lot of striping, so supspecting something’s wrong with my averaging!
new logo
I made a new logo!
old website no. 1
From a very old website. When I was a teenager, I thought this was really cool. The website rebranded everytime you visited. Have fun (mash refresh!).
with thanks to swf2js. All trademarks below to their respective owners. Yes, this is a parody.
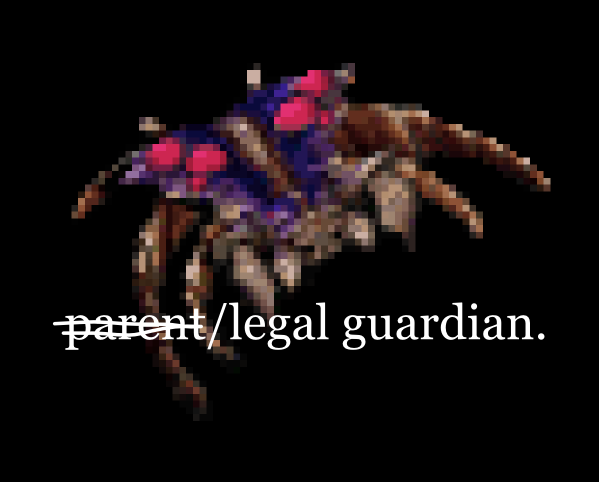
g2
this weekend I am mostly being a legal guardian. grrr.
retro videos
Here are some recovered videos from secondary school! I remember hundreds of hours spent after school playing with the fancy “Media 100” editing suite to get my animations (carefully exported from home on VHS tape then sped up once digital) just right. Unfortunately, much quality was then lost as they were archived to VHS…
This was entered into a film contest. It was shown at the Cambridge Arts Picture House!
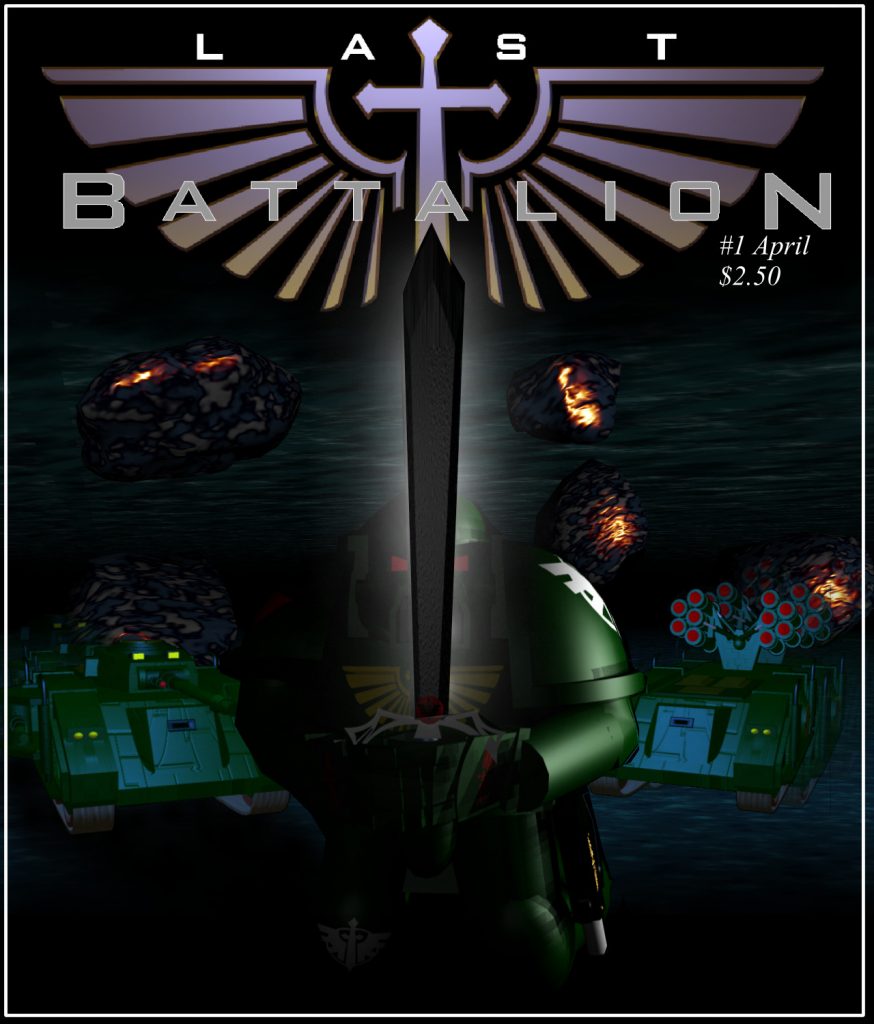
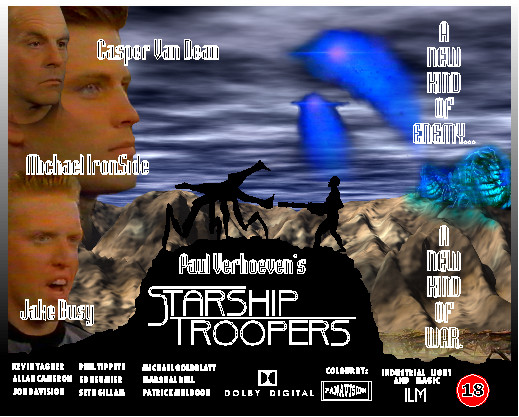
Another art project. I suspect I’d been reading too much science fiction and playing too much Warhammer….
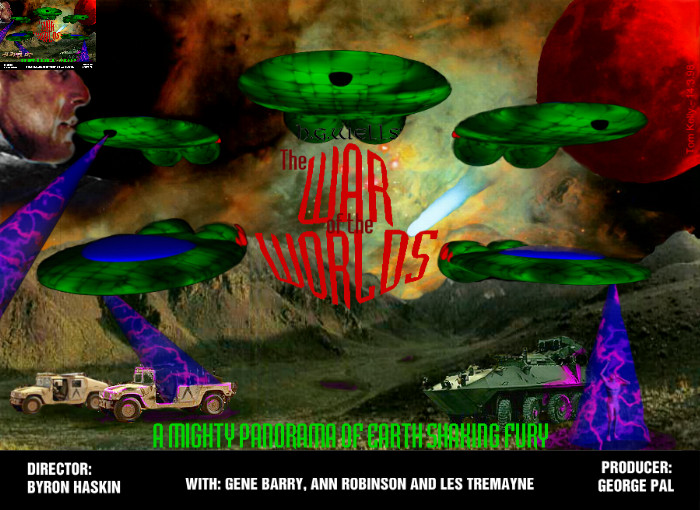
Don’t remember creating this one.
The logo for a Media Studies project.
I believe this was a progress report for DofE studies:
old website no. 2
An old flash game from the 2000’s.
(with apologies for the rude, filthy, totally unacceptable language here)
old website no. 3
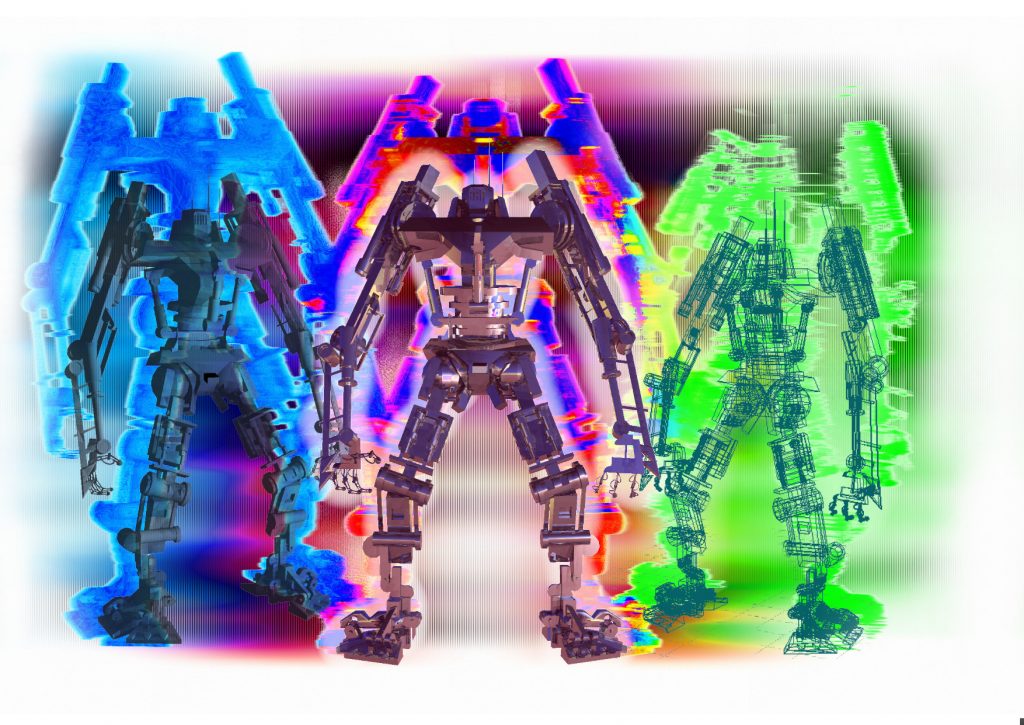
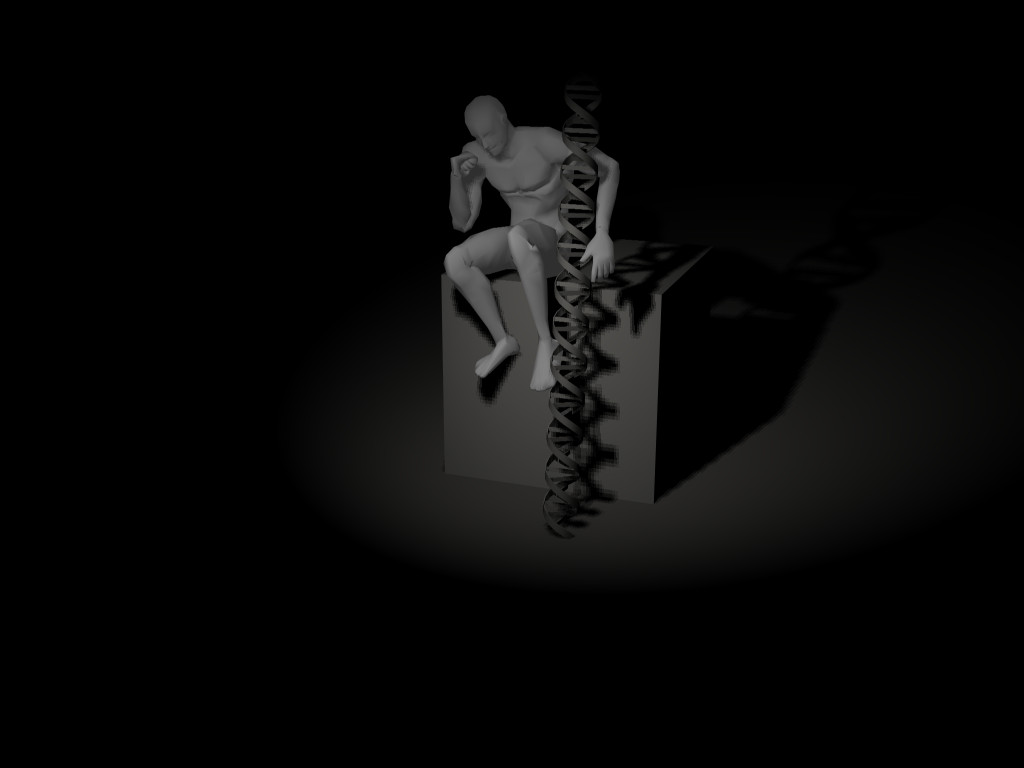
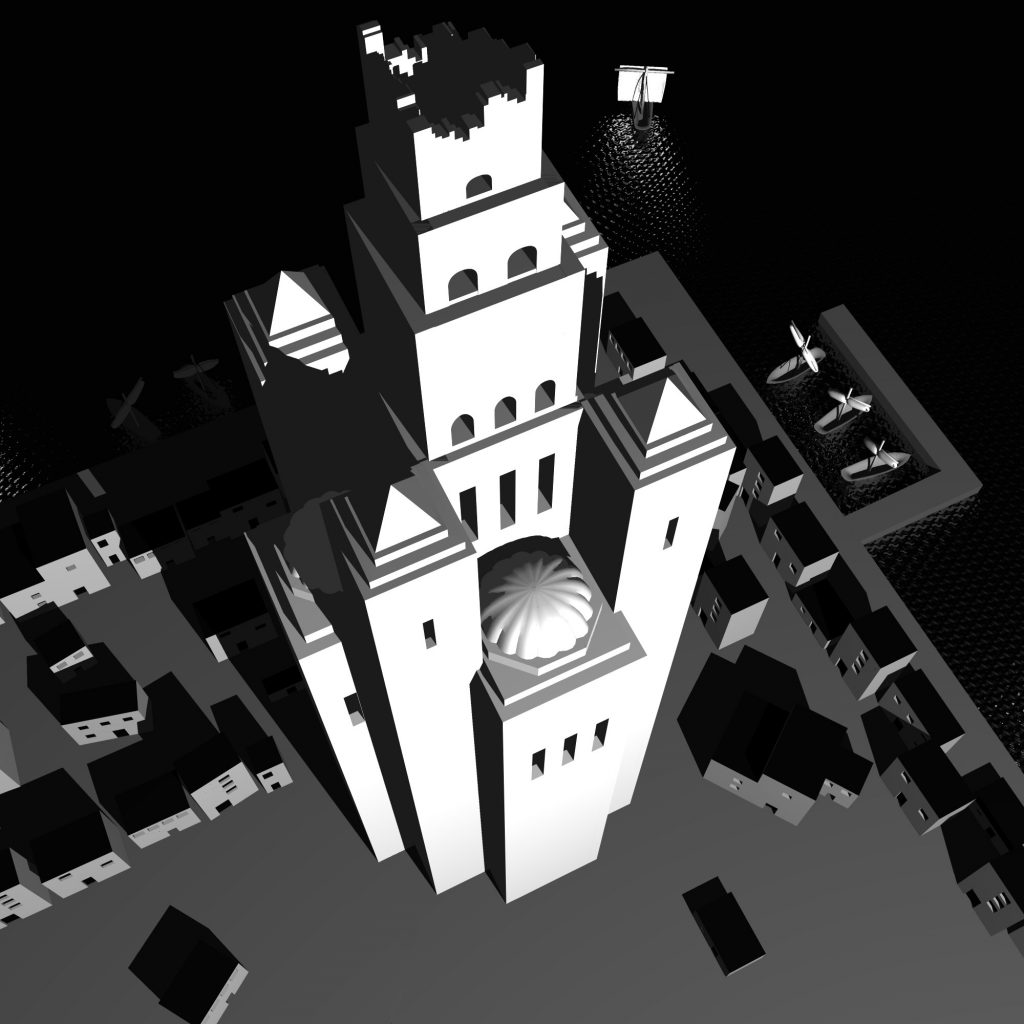
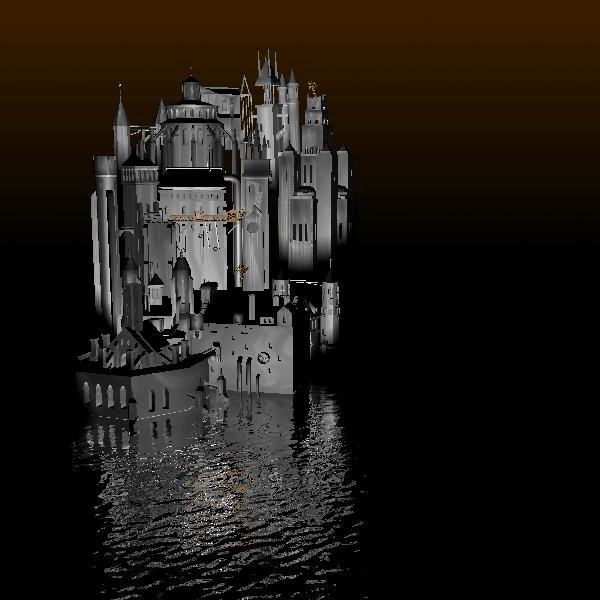
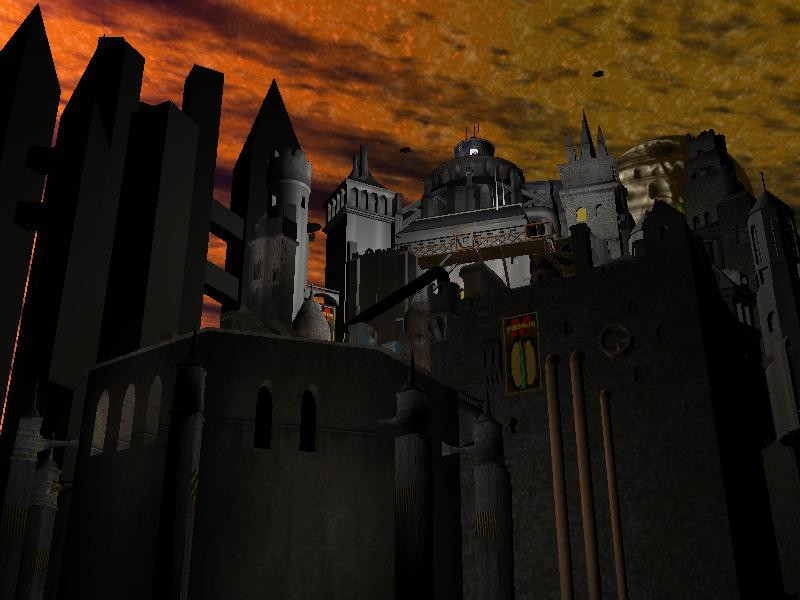
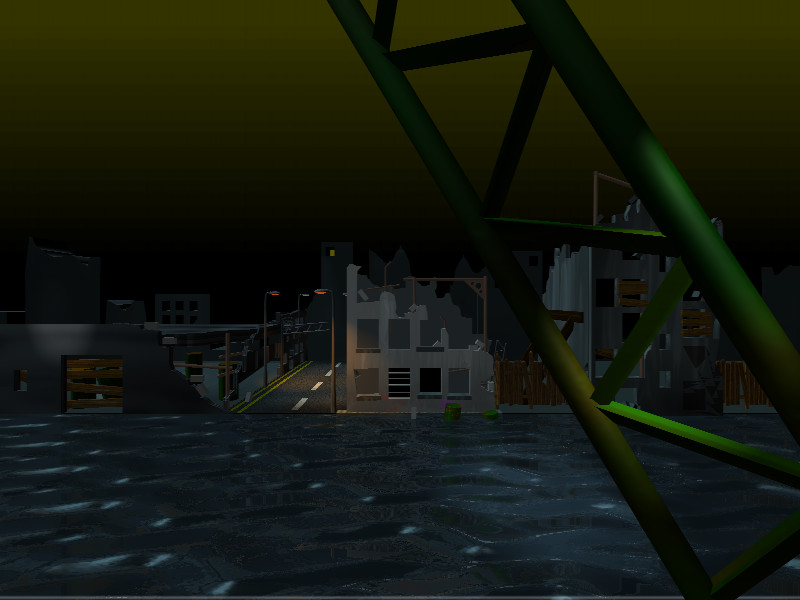
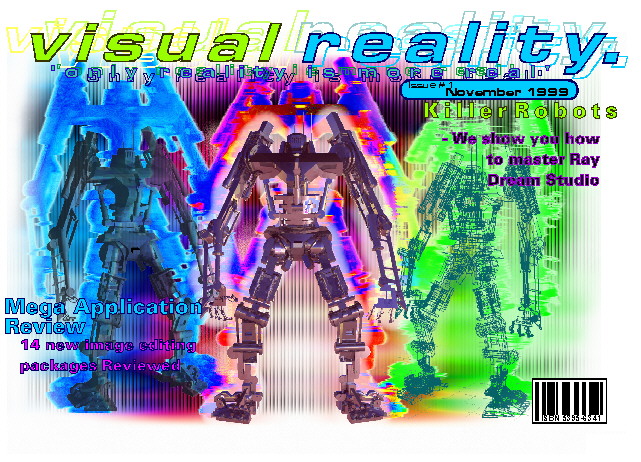
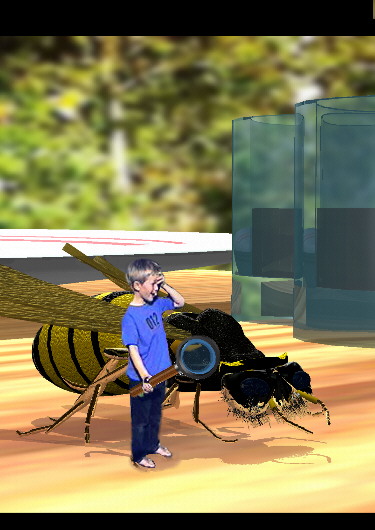
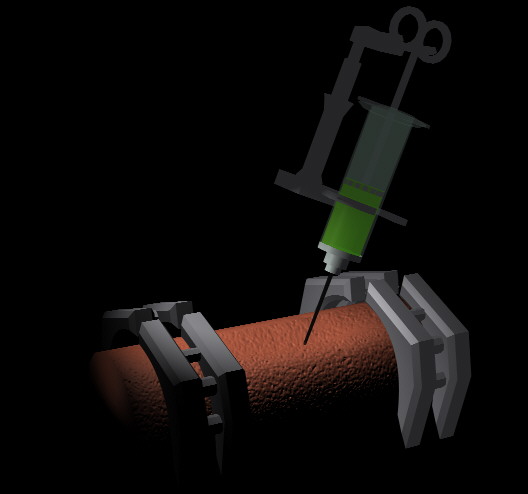
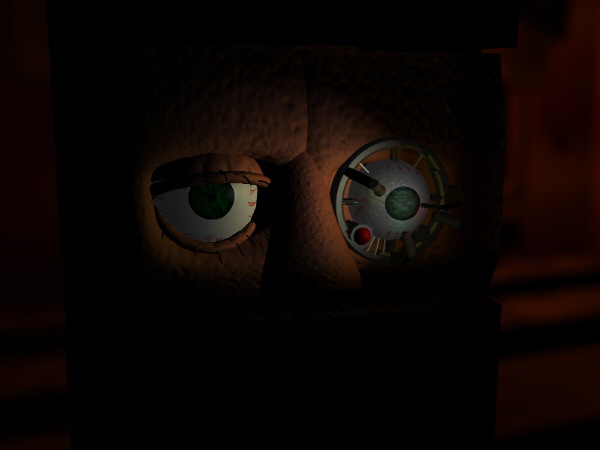
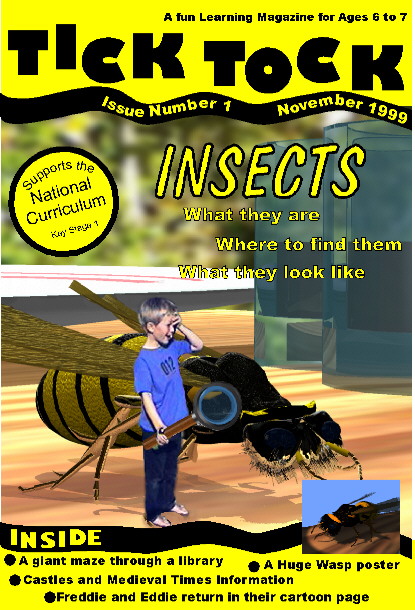
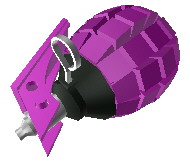
In the early days of the web I had a showcase of my 3D art from circa 96-99. Sadly lost to the sifting sands of web standards (or lack thereof), here are some examples.
If memory serves, the early images were made with Imagine while the later ones were made with Truespace – both from cover-disks of the venerable PCF. They were created for school and personal projects. I apologise in advance for not-too subtle teenage angst + violence.